 By Marcus Chen
Picture the checkout line at your local grocery store. You’re balancing bags and searching for your wallet, but it’s lost in your backpack somewhere. The cashier waits, people behind you start to sigh, and you can feel the tension mounting. Instead of digging around, you unlock your phone, hold it near the payment terminal, and in seconds you see the confirmation pop up.
Done. No chaos, no dropped cards, just a smooth exit. That easy moment is what mobile payments are all about—but getting that reliable tap-to-pay experience takes a bit of setup and a few tricks that most people only learn after a failed attempt or two.
Getting your phone ready for in-store payments
You can’t skip straight to tapping your phone at the counter without a quick setup. First, check if your device supports NFC (Near Field Communication). That’s the short-range tech that lets your phone “talk” to payment terminals. On most Androids, you’ll find NFC settings under “Connections” or “Network & Internet.” If you use an iPhone, NFC is always on for Apple Pay, so you don’t have to toggle anything.
Now choose the mobile wallet app that fits your phone. Most people pick Google Wallet, Apple Pay, or Samsung Pay. For Android, open Google Wallet, select “Add to Wallet,” and add your debit or credit card either by scanning or typing in the details. Some banks ask for a text code or app confirmation before your card is ready to go.
If you’re on iPhone, open the Wallet app, tap the plus sign, and select debit or credit card. You can scan your card or enter the numbers manually. Apple will ping your bank for verification—usually through a text, a call, or a prompt in your banking app.
Once your card is loaded and approved, Android users should set Google Wallet as the default tap-to-pay app. This tells your phone which wallet to use at checkout. iPhone users don’t need to do anything extra—Apple Pay is always ready with a double-click of the side button or Face ID.
It’s worth double-checking that your card actually supports contactless payments in your chosen wallet. Most major US banks work, but a quick look at your bank’s support info can save time later.
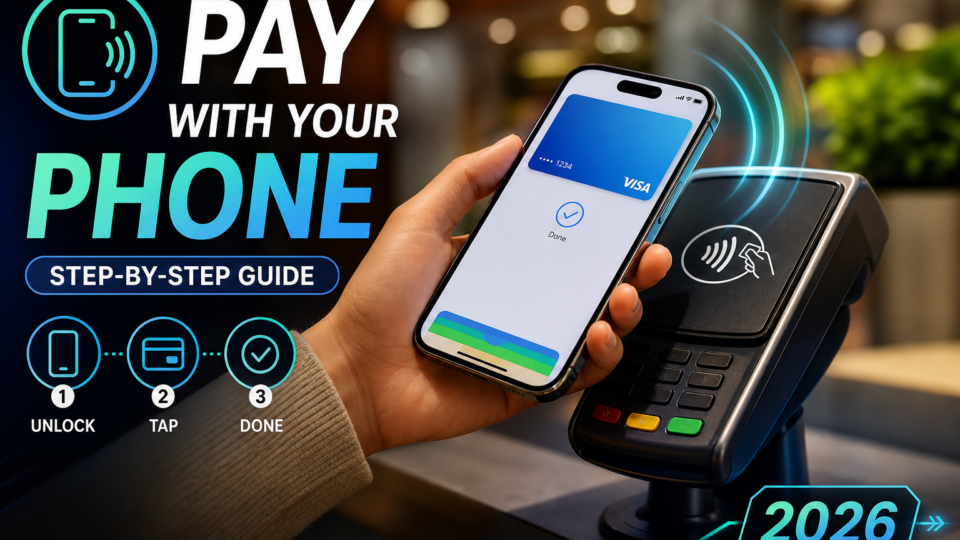
Paying with your phone at the register is pretty straightforward. Start by unlocking your device with your passcode, fingerprint, or face recognition. For Google Wallet, you don’t need to open the app—just unlock your phone and hold it close (within an inch or two) to the terminal.
With Apple Pay, double-click the side button or use Face ID to pull up your card. Your screen shows your default card, ready to pay. Hold your device over the reader until you feel a slight vibration or hear a beep. For Google Wallet, look for the blue check mark—if you see it, the payment went through.
Sometimes, the terminal won’t read your phone right away. Most of the time, that’s because of where your phone’s NFC antenna sits. On some models, it’s at the top; others place it near the bottom or back. If nothing happens, move your phone slowly over the reader or adjust the angle. Usually, you only need a slight change.
Newer Pixel phones, like the Pixel 8, can make it even easier. Features like a double-press of the power button or quick access from the lock screen mean you can pay in seconds, no digging through apps required.
Protecting your mobile payments
Using your phone to pay is convenient, but you want it to be safe too. A few habits can cut your risk and keep your money secure.
Turn on transaction alerts in your mobile wallet app. Every time you make a payment, you’ll get a notification—so if something happens you didn’t expect, you’ll know right away. It just takes a minute to set up in the app’s settings.
Make sure your wallet requires a biometric check (Face ID or fingerprint) or at least a passcode before making payments. Both Google Wallet and Apple Pay turn this on by default, but it’s smart to double-check your settings.
Add another layer of security by requiring authentication every time you open your wallet app—even if your phone is already unlocked. This way, nobody can open your wallet and see your payment info without your approval.
Get in the habit of checking your wallet app’s transaction history once a week and comparing it to your bank statements. Consumer Reports recommends this as a way to spot mistakes or odd charges before they get out of hand.
Contactless limits and checkout surprises
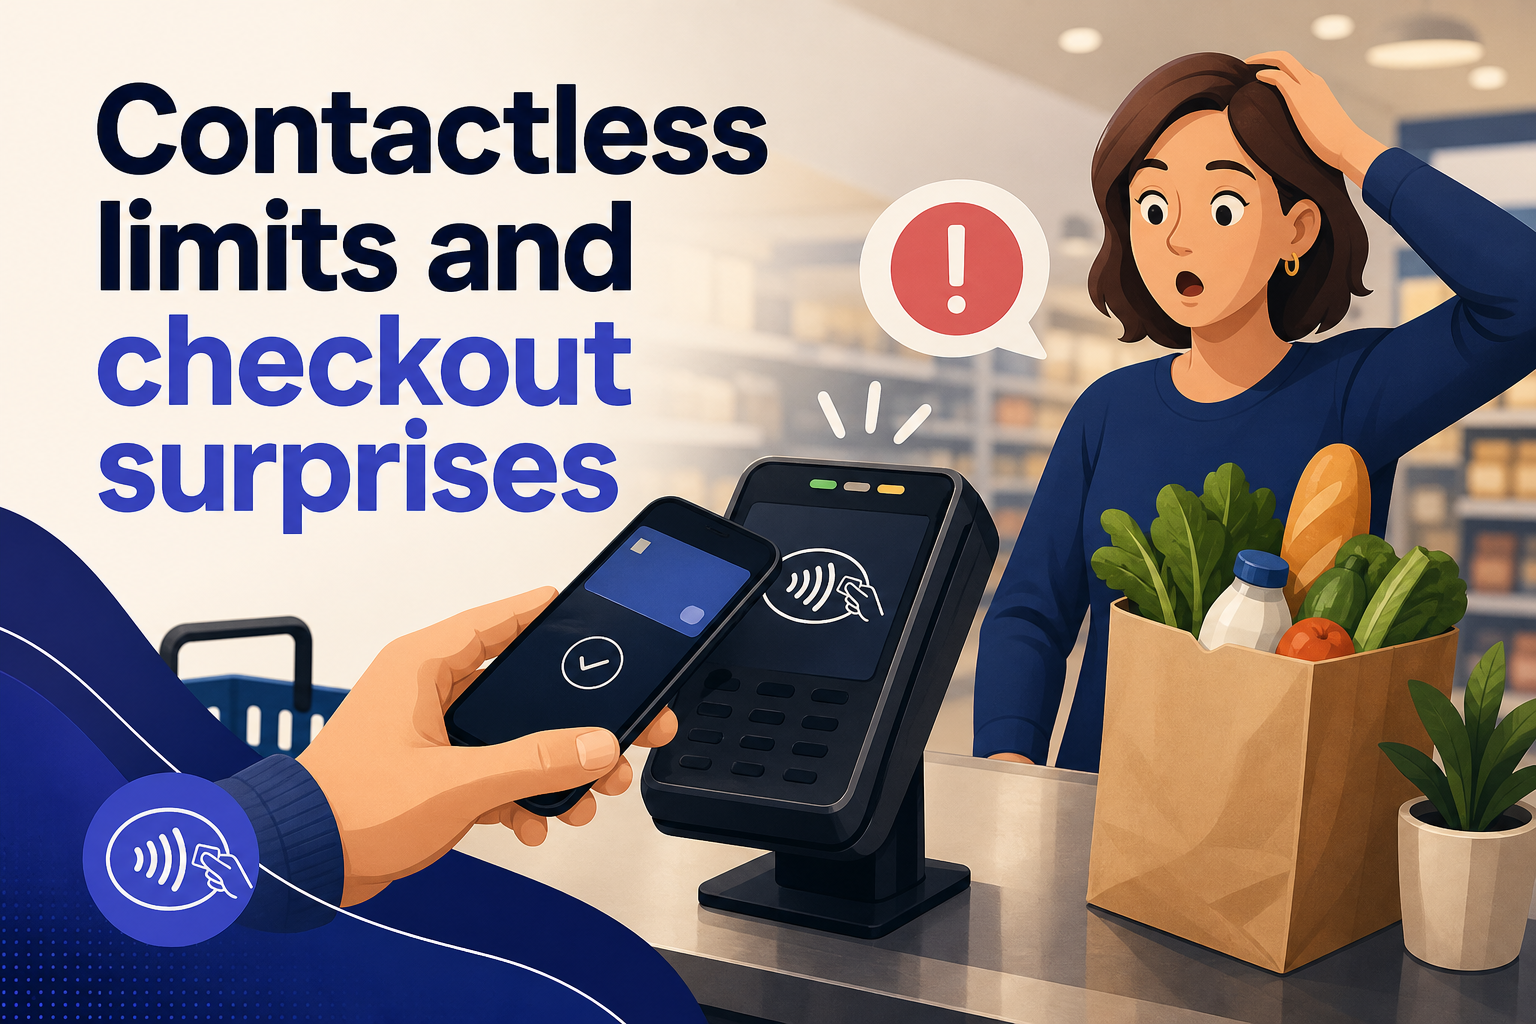
One thing that can catch new mobile payment users off guard is running into a spending limit at the register. In places like the UK, contactless card payments are usually capped—often at £100 per transaction. If your total is higher, you might have to split the bill or use another method to finish paying.
In the US, there isn’t a single standard for these limits. Each bank or card provider sets their own rules. For phone payments, those limits can be higher or handled differently than with a physical card.
Sometimes, your phone wallet could have a different limit than tapping your physical card, depending on the bank. If your payment gets declined at the terminal but your card works elsewhere, ask the cashier about any tap limits or reach out to your bank’s support.
For everyday purchases like coffee, lunch, or groceries, people typically pay amounts that don’t usually hit these contactless limits. For the most current limits and rules, check with your bank or payment provider.
Recurring payments: what to do and what to avoid
Setting up automatic payments for subscriptions or memberships in your mobile wallet sounds tempting, but there’s a catch. Consumer Reports suggests using your bank account for these recurring charges instead of a wallet app. The reason is simple: if your app glitches or your account is frozen, scheduled payments might not go through. That could mean missed bills or late fees.
If your mobile wallet ever locks up or goes offline, use your bank’s website to check what payments were missed. Then contact the service or utility provider directly. Most companies will work with you if you explain the issue and act quickly.
For regular in-store purchases, wallet apps are usually solid. But for anything that needs to happen on a schedule, bank transfers are more reliable.
Comparing wallet apps for store payments
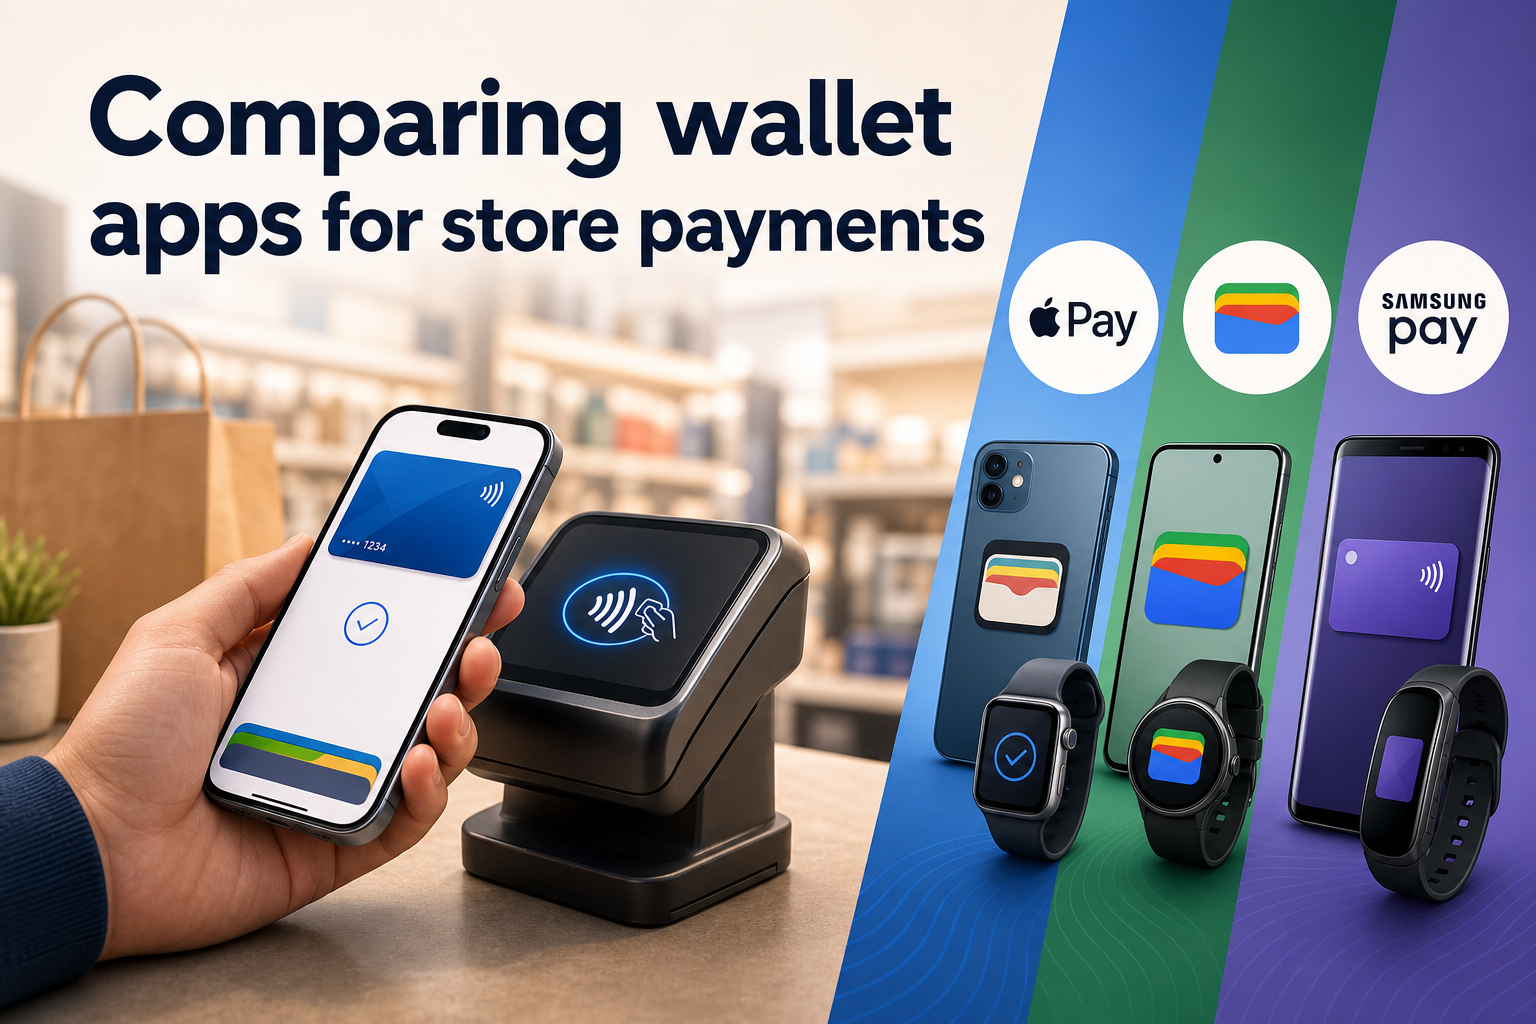
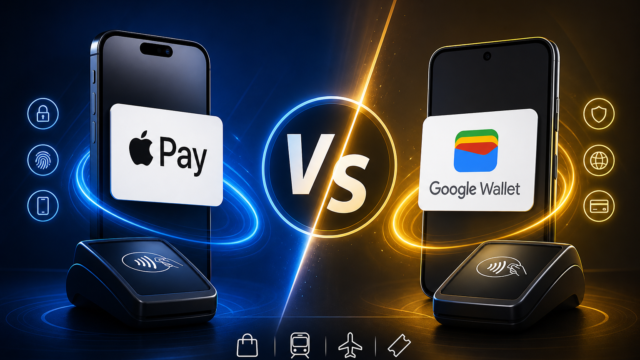
Choosing between Apple Pay, Google Wallet, and Samsung Pay depends mostly on your phone, but each has a few unique features. All three work with NFC, so if you see the contactless symbol at checkout, your phone will likely work.
Apple Pay is built into the iPhone and Apple Watch. It uses Face ID or Touch ID for security, works with most US banks, and lets you store tickets or transit passes right alongside your cards.
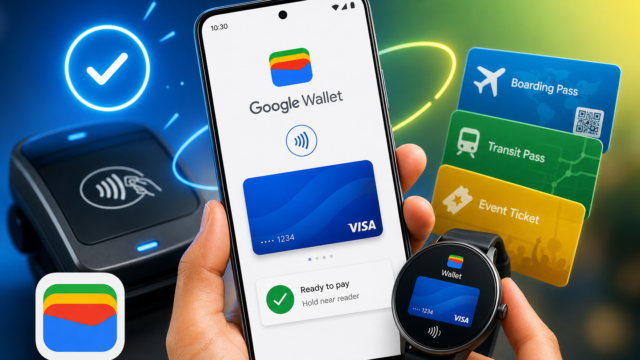
Google Wallet (also called Google Pay) is the standard for Android. According to PCMag, it handles both in-store and online payments smoothly and is handy for storing digital tickets for concerts or flights. Newer Pixel phones let you access it fast with shortcuts like double-pressing the power button.
Samsung Pay is for Samsung phones. It holds cards, loyalty programs, and tickets, but some features stay exclusive to Samsung devices.
Security, speed, and wide acceptance are strong points for all three. Your final pick usually comes down to your phone and whether you want perks like transit passes or digital ticket storage.
Real-world tips for smooth tap-to-pay
A few tricks can make paying by phone second nature. Set up a shortcut—on many phones, you can double-press the power or side button to bring up your default payment card, even from the lock screen. No need to scroll through menus with a line behind you.
If your payment doesn’t go through right away, stay calm. Make sure your phone is unlocked, and try moving it over the terminal. The NFC antenna’s position and the terminal’s sensitivity can both affect the connection, so a little adjustment often solves it.
Keep an eye out for app outages, especially when shopping gets busy or you’re traveling. Carrying a backup, like a physical card or some cash, means you’re never stuck at the register.
Take a few minutes to explore your wallet app’s features. Many let you keep loyalty cards, event tickets, or transit passes in one place. It’s a simple way to cut clutter and make errands less stressful.