 By Marcus Chen
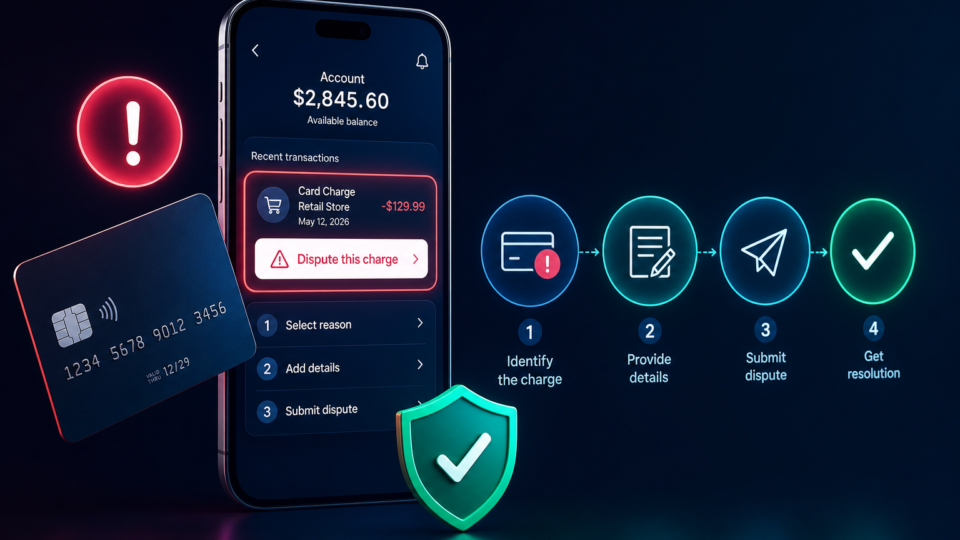
You’re checking your banking app after a long day, just wanting to make sure that sushi order cleared, when you notice a strange charge. The amount isn’t huge, but you’re certain you didn’t buy anything from “VRT*ELECTROSHOP.” Your mind races: Was this a mistake, fraud, or just a merchant using a weird billing name? That quick punch of anxiety is all too familiar. For anyone with a card in their wallet, a surprise transaction can mean hours on hold or paperwork nightmares. But these days, most major banks put the power to dispute a card charge right in your phone—if you know what to look for and how to avoid common mistakes that slow the process.
Where to Start Your Dispute in the App
If you spot a suspicious charge, don’t waste time searching through generic help sections or scrolling endlessly for support chat. The majority of major US issuers—like Bank of America and American Express—now design their mobile app flows so you start the dispute directly from the transaction itself. Open your app, head to your card account, and scroll through recent activity. As soon as you find the transaction you want to challenge, tap on it. On this detail screen, you’ll almost always see a button labeled something like “Dispute Transaction,” “Report an Issue,” or “Question this Charge.”
This approach isn’t just about convenience. By launching the dispute from the transaction, all the key details—date, amount, merchant—fill in automatically, leaving less room for errors that could drag out your case. This is especially useful if you have dozens of charges each week or multiple cards linked in the same app.
For Apple Card holders, the experience is tailored inside the Wallet app. Open Wallet, choose Apple Card, and then tap on the specific transaction. You’ll see options to “Report an Issue” or “Dispute Charge” right there. Apple’s interface even lets you select specific categories, such as “Merchant info is wrong,” making it simple to flag the exact problem.
But sometimes, tech fails or you just can’t find the dispute button. Maybe your app is outdated or the feature isn’t available for your type of card. In that case, don’t let the frustration build. Nearly all issuers also accept disputes through their online banking website—just log in on a computer, find the transaction, and look for a “Dispute this transaction” link.
If you prefer talking to a person or need urgent help, use the customer service number on the back of your card. Many banks also handle disputes by email or even good old-fashioned mail. The in-app path is typically the fastest, but you have backup options if needed.
What to Prepare Before You File
Before you start tapping away in your app, take a few minutes to gather every detail you might need. The more organized you are, the smoother your dispute will go. Start with the basics: write down the transaction date, the exact amount charged, and the merchant name as displayed in your app. Screenshot this screen, especially if the merchant name looks odd or abbreviated—these images can be useful later if you need to reference or resend information.
Now, clarify exactly why you’re disputing the charge. Is it a billing error, like a double charge or a wrong amount? Is it an unauthorized transaction—something you never made or approved? Or did the merchant fail to provide a product or service you paid for? Each category can trigger a slightly different process and deadline. For example, federal law covers billing errors and unauthorized charges with a 60-day window to file, but merchant-service issues might be handled differently depending on the bank’s policy.
Supporting documentation can make or break your case. If you have receipts showing what you actually bought, emails with the merchant (especially if you tried to resolve it directly), order confirmations, tracking numbers, or cancellation notices, collect them now. Most modern apps will prompt you to upload these files alongside your dispute form. If you’re unsure whether something helps, include it anyway—banks prefer too much detail over too little.
Don’t forget to check your own records for any possible explanation. Sometimes an unfamiliar charge turns out to be a regular subscription under a corporate name or a delayed restaurant tip. Scanning your order history or old emails could save you the trouble of a formal dispute.
Step-by-Step: Filing a Dispute Inside the App
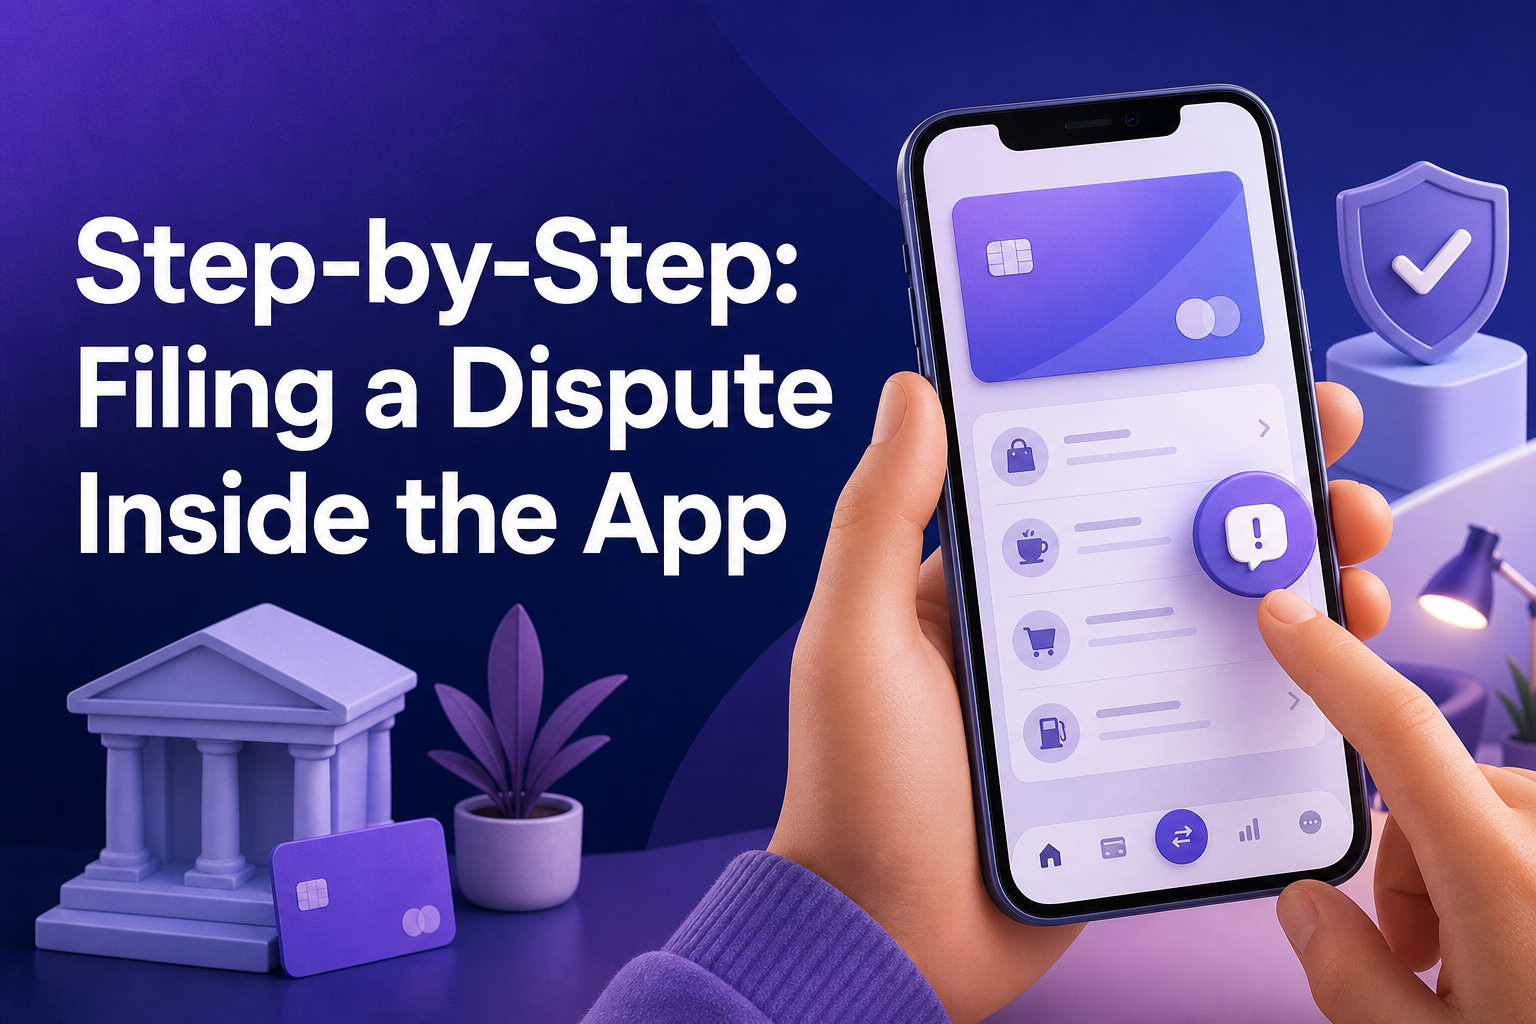
The process of filing a dispute in your banking app is designed to be straightforward, but it helps to know the flow before you start. Here’s how it usually works with a typical major issuer, along with the Apple Card’s unique path for comparison.
First, log in to your bank’s app and select your card account. Find the list of recent transactions, then tap the one you want to dispute. On the transaction details page, look for the “Dispute Transaction” or “Report an Issue” button. Tapping it typically launches a guided form that walks you through a few key steps.
You’ll usually be prompted to select the reason for your dispute. The options you see will depend on your issuer and the card. For example, Apple Card users may see categories such as "incorrect merchant information" on the transaction record. Choose whichever matches your case most closely.
Next, describe what happened as clearly as you can. You will likely be asked to provide details such as the date, amount, and merchant name, and many apps will give you the chance to upload supporting documents like screenshots, receipts, or emails. If you’re not sure whether to include a file, add it—more detail is usually better than less.
Before you submit, confirm all your contact info is up to date and review your explanation for clarity. Missing documents or vague answers can slow your claim or lead to additional requests for information. After you submit, you should receive a confirmation in your app or by email.
For Apple Card users, the process is even more visual. In Wallet, tap Apple Card, select your transaction, and tap “Report an Issue.” You’ll get prompts to pick a category such as “I didn’t authorize this transaction” or “Merchant info is incorrect,” and you can message support or upload evidence right from your phone.
Whichever app you’re using, take your time with this step. Many delays happen because of skipped uploads or unclear descriptions. Spending a few extra minutes here can prevent weeks of back-and-forth later.
Key Deadlines and What They Mean for You
When it comes to disputing card charges, missing a deadline can shut the door on your case. Under federal rules, if your dispute is about a billing error—for example, a charge you didn’t authorize or an incorrect amount—you generally have 60 days from the date your first statement with the error is sent to file a written dispute. This 60-day clock starts ticking as soon as you receive the statement, not when you notice the charge, so it pays to review your bills regularly.
After you file the dispute, your card issuer has 30 days to acknowledge they received your complaint, unless they resolve it first. This acknowledgment often comes as an email, a secure message in your app, or a letter. During this time, you might be asked for more information or clarification, so keep an eye on your inbox.
The issuer then has up to 90 days from the date they received your dispute to complete their investigation and resolve your claim. Sometimes, straightforward cases are settled much faster, but federal law gives them this full window if needed. If your dispute is successful, the bank will reverse the charge or credit your account.
Miss the 60-day filing deadline, and your legal protections shrink. While some banks might still review your claim as a courtesy, they’re not required to resolve it under federal law. For other types of disputes, like dissatisfaction with a merchant’s service, the process and timelines can vary—so check your issuer’s specific policies or ask customer support right away.
To avoid missing these windows, make it a habit to review your monthly statements within a few days of receipt. If you see anything off, start gathering your evidence and file as soon as possible. Mark your calendar or set a reminder so that a busy week doesn’t let your case slip through the cracks.
Following Up and Tracking Your Dispute
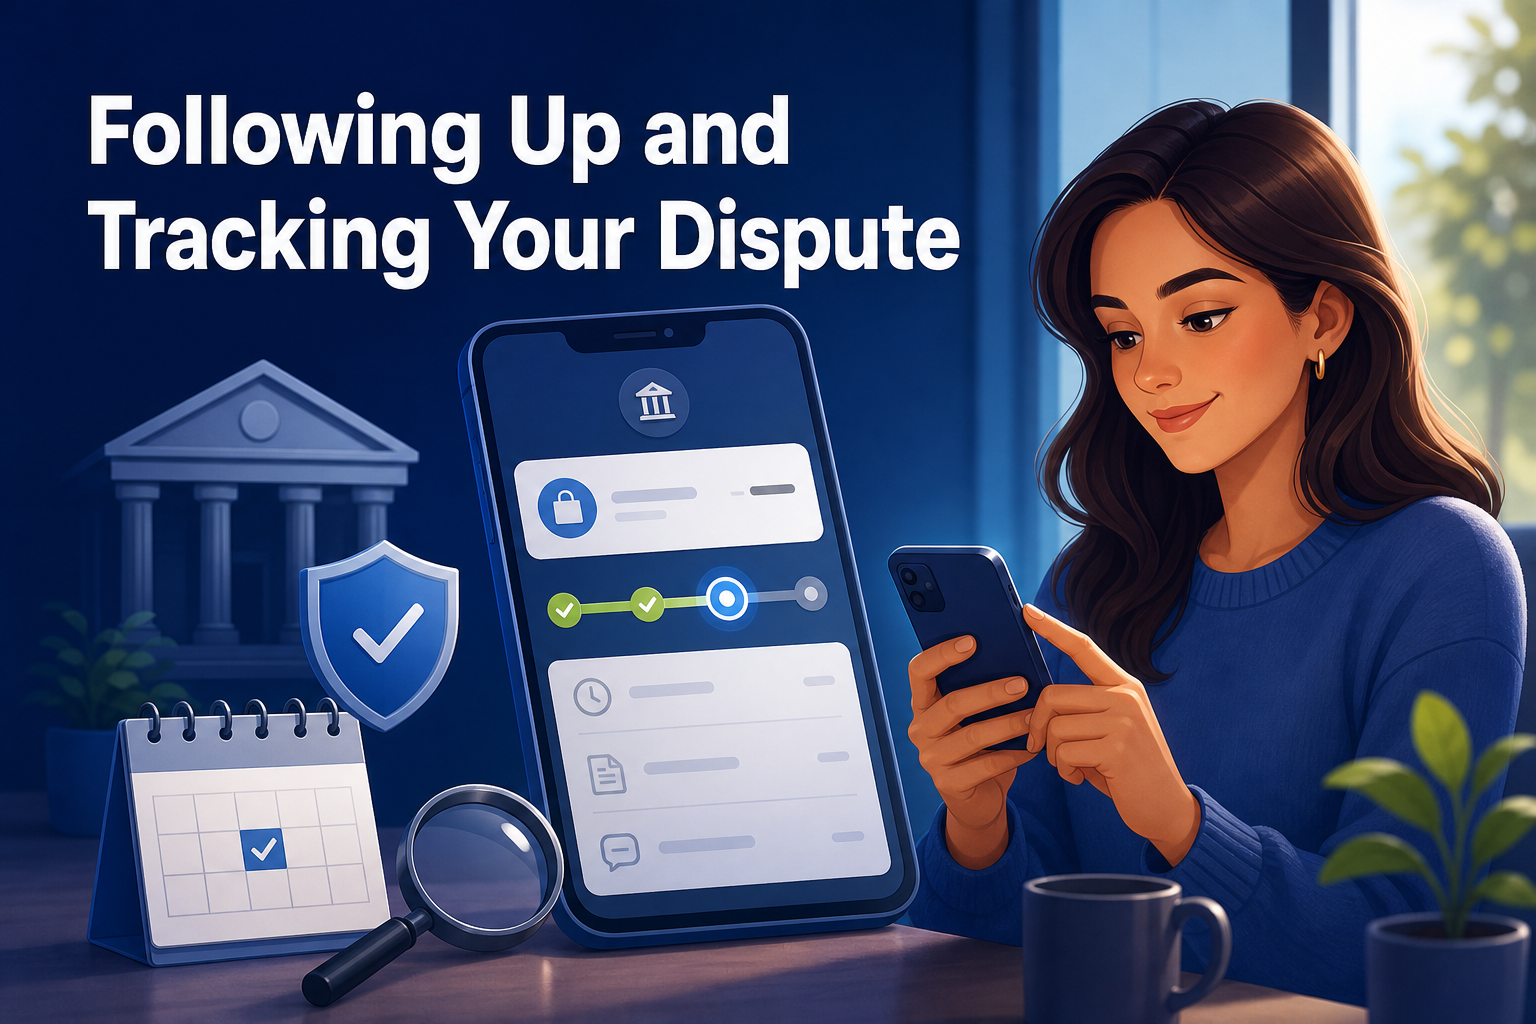
After you submit your dispute, you’ll want to know what’s happening behind the scenes. Most banking apps make tracking your claim status straightforward. Look for a section in your app labeled “Claims,” “Disputes,” or even a status bar inside the transaction detail. Sometimes the original transaction will update with a note like “Dispute in Progress” or “Under Review.”
You may receive notifications if the bank needs more information, an additional document, or confirmation that you’ve tried to resolve the issue with the merchant first. Whenever you receive a request, respond within a day or two—delays on your end can stall the process or even close your claim if the bank thinks you’re unresponsive.
Within 30 days of filing, the issuer must send you a written acknowledgment. This is often an email or secure message, and it’s your confirmation that the case is being reviewed. During the investigation, the bank might issue a temporary credit while they look into the details, especially for unauthorized charges.
If your claim is approved, the credit will become permanent and your statement will reflect the correction. If it’s denied, you’ll get a written explanation with the reasons. In most cases, you can provide new evidence if you disagree with the outcome.
Some cases resolve in a matter of days, especially simpler disputes like obvious duplicate charges. Others may take up to the full 90 days allowed under federal law, depending on what your bank needs to investigate. Keep checking your app for updates, and don’t hesitate to contact support if you haven’t heard back after a couple of weeks.
What to Do If Your App Dispute Gets Stuck
Even the best-designed apps can hit a snag. Maybe your app crashes every time you try to submit a dispute, the “Dispute Transaction” button is missing, or you never get a confirmation after filing. If your case seems frozen, take action quickly so you don’t lose your window for federal protection.
First, try to repeat the process using your bank’s online banking website from a desktop or laptop. Some issuers even offer additional options or clearer forms on their full site compared to the app. If you’re still stuck, call the customer service number on the back of your card and explain that you’ve already tried to dispute through the app.
Ask the representative for instructions to file by email or mail if needed. For billing errors, remember that your written notice must reach the issuer within 60 days of the first statement with the error, so don’t wait if the digital route is blocked. When sending an email or letter, include all transaction details, your reason for disputing, and copies of supporting documents—just as you would in the app.
Keep a record of every step: save screenshots, write down support agent names, and keep copies of all correspondence. This paper trail helps if you need to escalate further or file a complaint with regulators.
Most disputes are resolved smoothly, but having backup plans ensures you won’t be left in the dark if technology or bureaucracy gets in the way. And whenever your bank updates their dispute process, check their website or help section for the latest steps—issuers sometimes tweak their app flows or contact channels.